
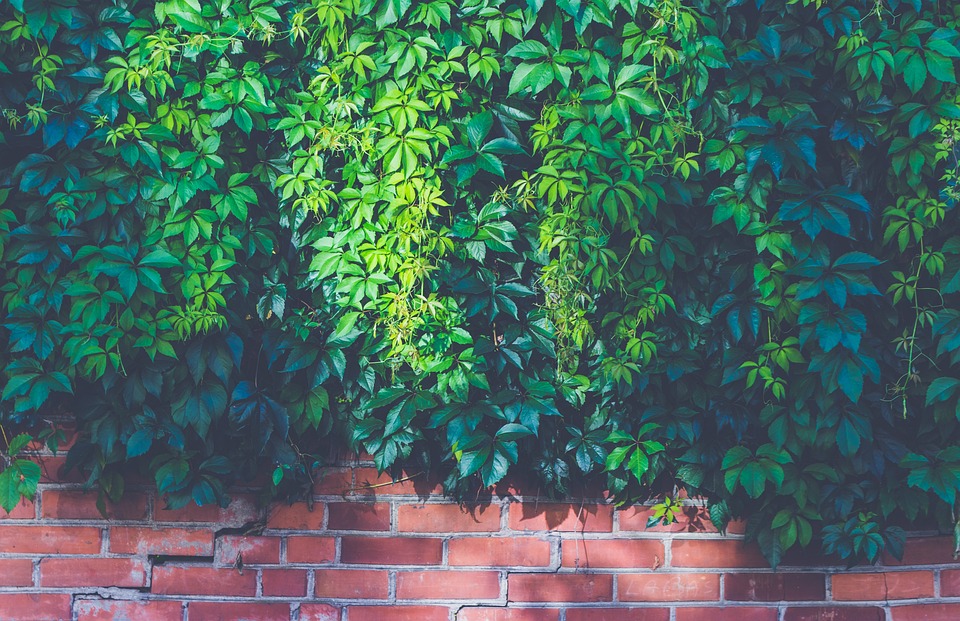
In our continuous pursuit of exploring innovative and sustainable living spaces, we often stumble upon ideas that revolutionize our perception of the home. One innovative concept that has gained traction recently is the living wall, also known as the green or vertical garden. A living wall is a wall partially or completely covered with greenery. In this article, we’re going to guide you through creating your own living wall at home, adding a vibrant touch of nature to your indoor environment.
Materials Needed
- A strong frame (wooden or metal)
- Plastic sheeting
- Fabric for the layer that holds the plants (felt works well)
- A suitable irrigation system (a simple drip-irrigation system is easy to install)
- Potting soil
- Assortment of indoor plants (ferns, ivy, pothos, and philodendrons are great options)
- Basic tools (hammer, nails, staple gun, scissors)
Step-by-step Guide
1. Design Your Frame
The first step is to construct a sturdy frame for your living wall. This could be an old picture frame or even a pallet. The size and shape depend on your preference and available space. Ensure the frame is strong enough to hold the weight of the plants and soil.
2. Prepare the Frame
Cover the back of the frame with a plastic sheet to protect the wall from moisture. Secure it with a staple gun. Now, attach a thick layer of fabric to the frame. This is where your plants will live. Felt works well because it retains water, enabling the plants to stay hydrated.
3. Install Irrigation
Living walls need a good irrigation system to ensure the plants are evenly watered. One way to achieve this is by installing a simple drip-irrigation system at the top of the frame. Water drips down, ensuring each plant gets the moisture it needs. Remember to include a tray or some form of catchment system at the bottom to collect excess water.
4. Add Plants
Now comes the exciting part! Start adding your chosen plants to the frame. Make small cuts in the fabric and insert the plants, adding a little potting soil to each. It’s wise to start from the bottom and work your way up to prevent soil from falling out. Try to mix different leaf shapes, sizes, and colors to add texture and visual interest.
5. Let it Settle
Before hanging your living wall, let it lie flat for a few weeks. This allows the plants to take root in their new environment and helps prevent soil and plants from falling out when it’s hung vertically.
6. Maintenance
Once established, your living wall requires minimal maintenance. Regular watering through the irrigation system, occasional pruning, and a watchful eye for pests will keep your living wall lush and beautiful.
Creating a living wall is an engaging DIY project that introduces a piece of the natural world into your home. Not only do they look stunning, but they also help to purify the air and increase humidity. Living walls are a testament to how architecture and nature can blend seamlessly, creating spaces that are not just visually appealing, but also contribute positively to our well-being. Enjoy the process of creating your living wall and the touch of refreshing greenery it brings to your home.
Looking for more DIY Projects? Check out this article: 10 Unique DIY Projects to Transform Your Home